Arduino Security System
Hello and welcome! During this week, I designed and built my final project before Hack Club Shipwrecked: an Arduino Security System.
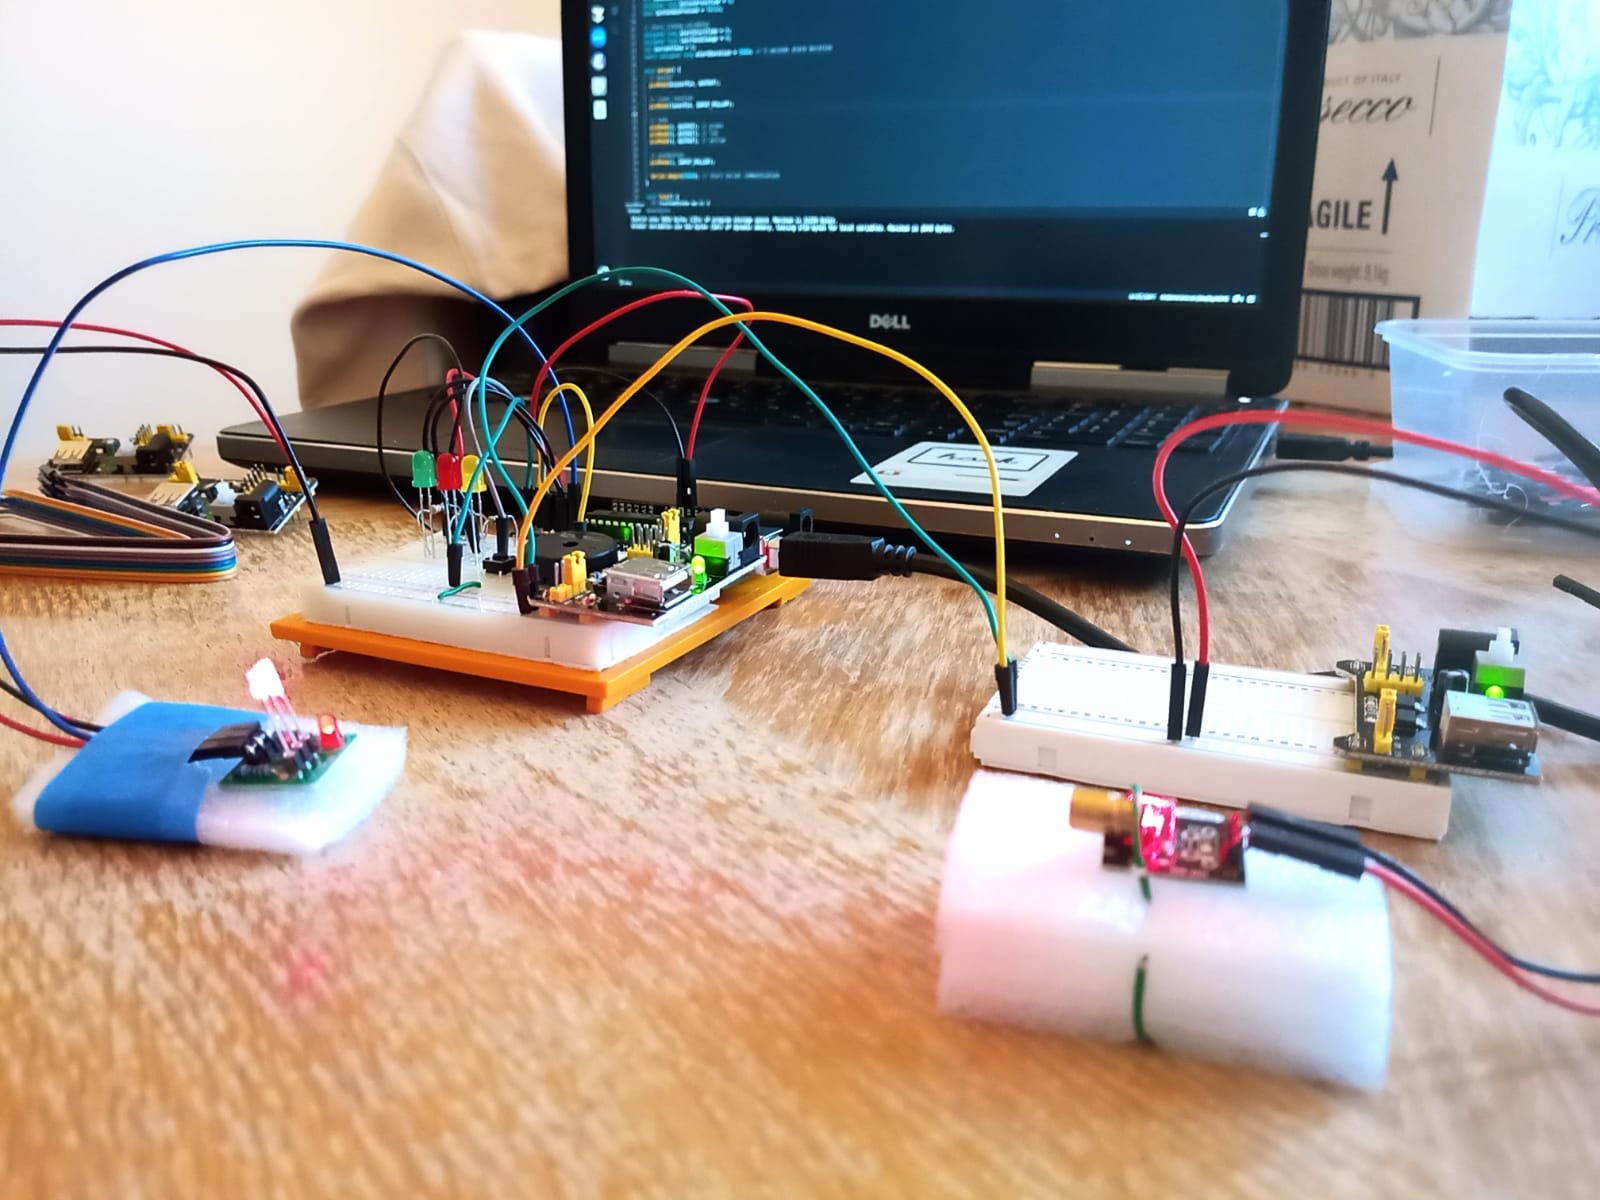
So what does this security system look like, and how does it work? It’s built on two separate breadboards, each with its own power supply. One of the breadboards holds the Arduino, which runs the code and manages the logic. The second, simpler breadboard contains the laser module, which can be connected to a slide switch to manually turn it on or off.
The main breadboard features:
- One pushbutton for arming/disarming/shutting down the system
- Three LEDs: green (armed), red (alert), and yellow (shutdown)
- A piezo buzzer for the alarm
- A laser receiver
The system is designed to be completely standalone, with both breadboards powered through wall adapters, no need to stay connected to a computer. In operation, the Arduino constantly checks the laser beam. When the beam is uninterrupted and hitting the sensor, it reads LOW. If the beam is broken, the input reads HIGH, which triggers the alarm and turns on the red LED.
After building the Arduino Simon Says game, I wanted to raise the bar. I decided a security system using a laser module and laser receiver would be the perfect next project. First, my dad and I ordered the necessary parts to make sure they’d arrive in time for me to build the system before Hack Club Shipwrecked. While waiting for the parts, I started designing the project in Tinkercad, but I quickly ran into a problem: Tinkercad doesn’t include laser modules or laser receivers as components. So I substituted the laser module with an LED and used a photoresistor in place of the laser receiver.
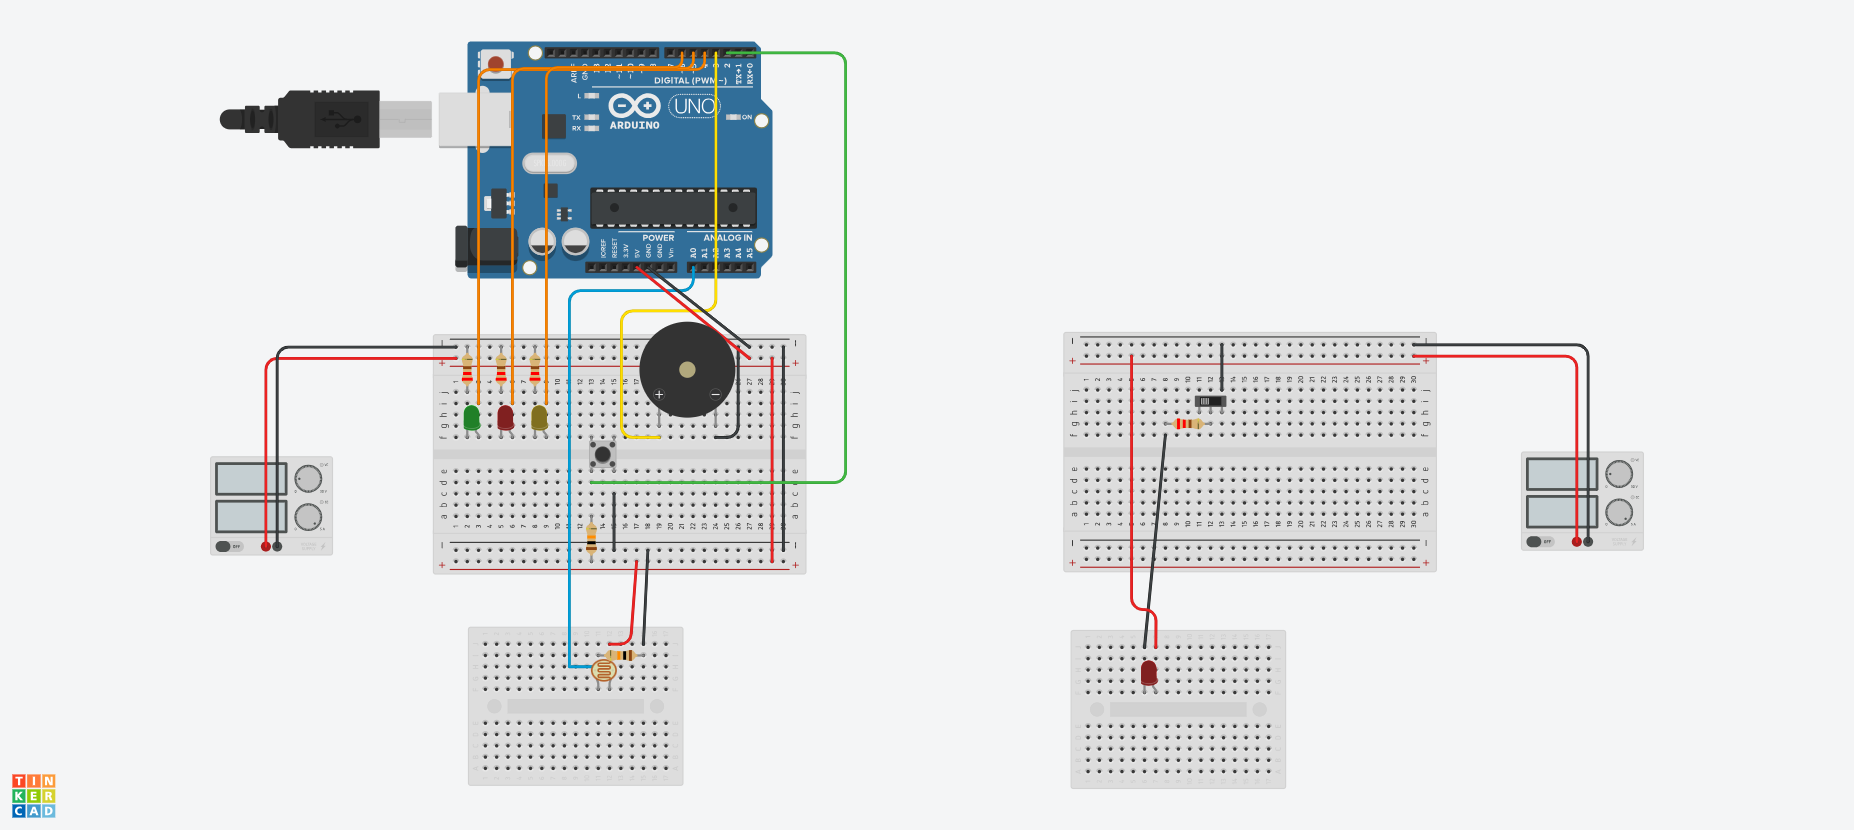
After about a day of building, I had the Tinkercad hardware complete. Next, I started working on the code. I had to write two versions: one for the Tinkercad simulation using a photoresistor, and another for the real-life setup using a laser receiver. This way, the project could function both in the virtual environment and in real life.
Once the physical components arrived, I started building the real-world version of the project. Unfortunately, time wasn’t on my side due to Shipwrecked being only a few days away. Thankfully, after a bit of trial and error, I managed to complete the project with a few days to spare.
Next, I tested the system, captured some photos and videos, and put together a simple demo video to showcase how it works, something required for hardware project that count towards Shipwrecked.
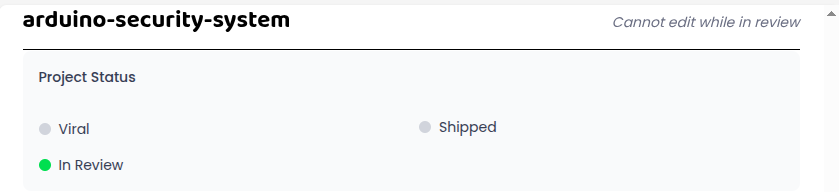
Next, I finished up the README file, added some final touches to the project, and submitted it up for review. I’m very happy with how it turned out. I plan to install this security system next to my bedroom door to catch any unwanted intruders. The project took me about 7 hours and 30 minutes to complete which totals to around 75 dollars towards the stipend, which means that once approved, the total stipend will be nearly $290.
As I write this, Shipwrecked is just two days away, and I can’t wait! My next blog post will cover all the adventures and experiences from the event.